Gate of the Dead · player guide
Getting started: your first 20 minutes
The game starts at dusk with rubble, a ring of stones for a campfire and a pickup full of tired people. Chapter 1, "Four Walls and a Fire", is the tutorial. It takes about twenty minutes and by the end you will have used every main part of the game once.
A taped note points at one thing at a time, tells you what it is and waits for you to do it. You can't really get it wrong, so the best approach is simply to follow the notes. This page walks through the same steps so you know what's coming and why each one matters later.
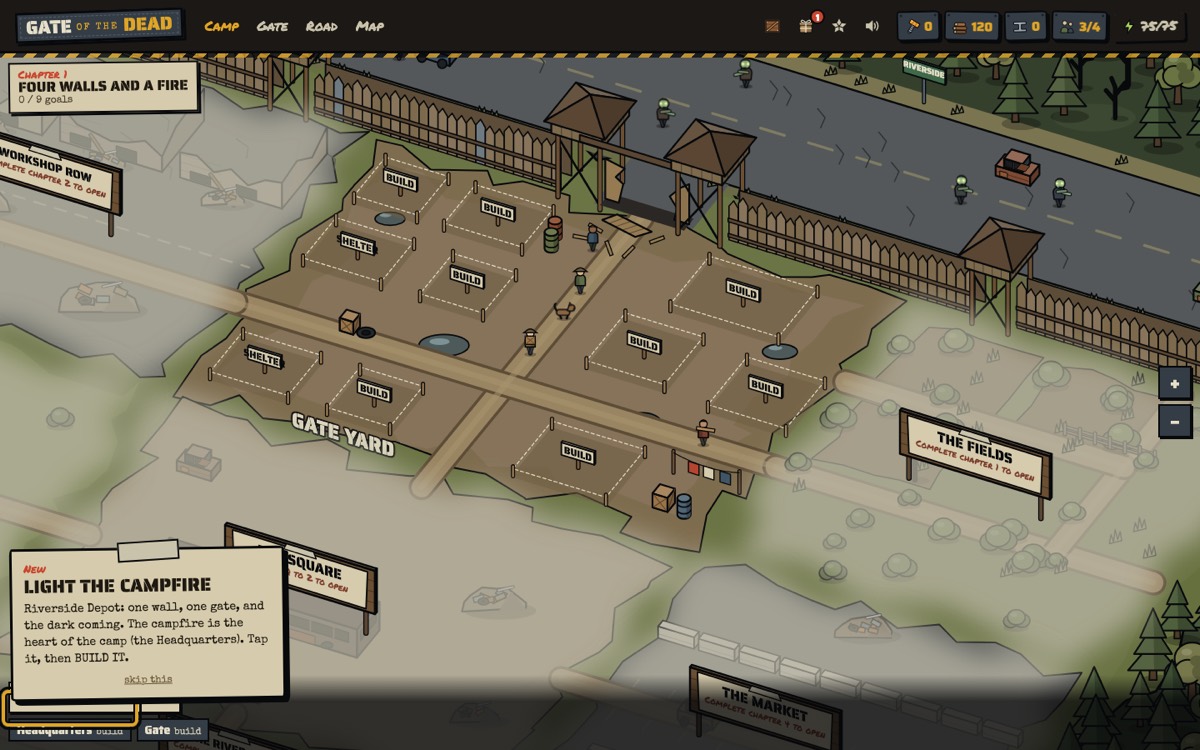
1. Light the campfire
The campfire is your Headquarters, the heart of the camp. Tap it, build it, then finish it. Anything with five minutes or less left on its timer can be finished free, and every build in chapter 1 is short, so you won't wait for anything yet.
The Headquarters matters more than any other building: no other building can go higher than it, and raising it opens new plots and new parts of town. See The camp for how that works.
2. Shelters, the Woodpile and the Scrap Heap
Next come two shelters (beds for survivors), the Woodpile (timber) and the Scrap Heap (steel). Timber and steel pay for every building, so these two yards are the start of your economy. They fill up on their own, even while you're away, and you tap Collect to bring it in.
Each of these is also a chapter goal. Open the chapter card in the top corner of the camp and press Claim on each goal as it's done. Goals pay Scrap Metal, timber and a speed-up token, and in the early chapters they also give the Mayor some energy back.
3. Build the Gate
At the start the gateway in the wall is a pile of pallets. Tap it and build the Gate. Once it stands, the Gate tab opens and with it Defend the Gate, the action half of the game.
4. Hold the first night
Before each night you get a short briefing: what's on the road tonight and which abilities to take. Then the dead walk down the road towards your wall. Drag a Rifle from the cards onto a post (or tap the card, then the post). Every zombie you put down pays scrap, which you spend on more defenders or on upgrading the ones you have. The first night shows each move as you need it, including your first grenade.
Holding a night pays Scrap Metal, the camp's money, plus timber, steel and usually a new survivor. Defending the gate covers nights in detail.
5. Raise the Headquarters and open the Road
With a few survivors in camp you can take the Headquarters to level 2. That opens the Lookout, a third shelter and the Bike Rack. Build the Bike Rack and the Road tab appears: Mara takes a few volunteers down the road to fight for supplies. Stage 1 is easy. The Road explains strength, odds and casualties.
6. The crisis, then the chest
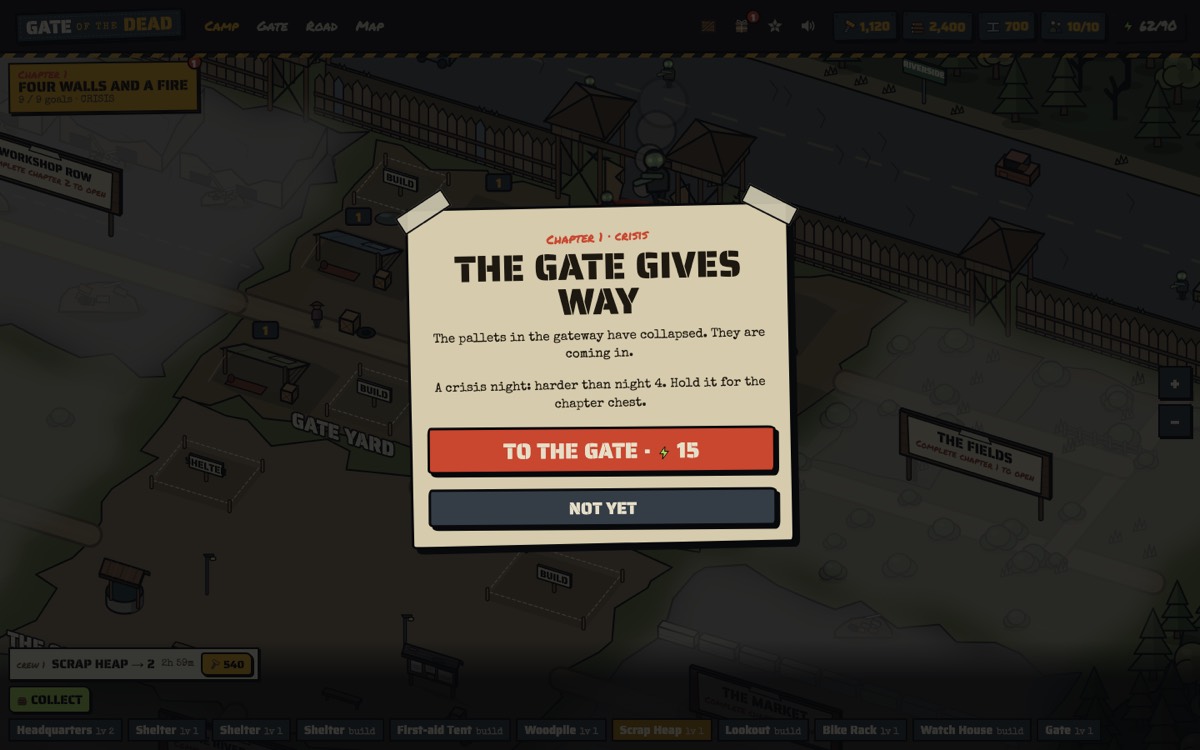
Hold nights 2 and 3 and finish the chapter's goals. Then the alarm goes: "The gate gives way". Every chapter ends with a crisis night, a bit harder than an ordinary night. Hold it and the chapter chest opens, paying Scrap Metal, materials, survivors and a speed-up, and chapter 2 begins.
What to do after chapter 1
- Keep the yards collecting. They hold eight hours of output, then stop. Collect whenever you visit.
- Follow the chapter goals. They are the best guide to what to build next, and each one pays.
- Keep the Headquarters moving. It needs survivors, which come from nights, the Road and later rescue missions.
- Daily jobs open in chapter 2. Eight small jobs a day, each paying Scrap Metal. See Daily jobs and leaderboards.
- Save your progress. The game makes a guest account for you automatically. Linking it to Google or an email means you can't lose it. See Saving your progress.